Thursday, 31 January 2013

Digital print motif development

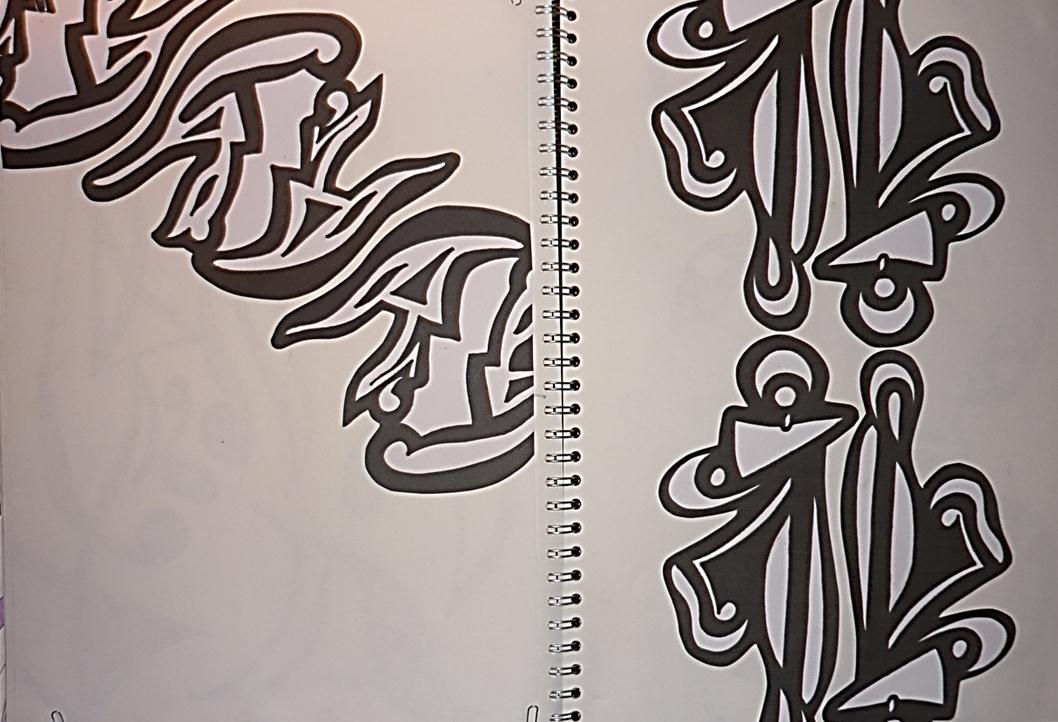
Before starting to develop digital prints, I had to produce new motifs that would then be made into brushes on photoshop. It was important to make sure that these new motifs were different from the others used for my screen. Sticking with black media, I started to look at some designs that I looked at right at the beginning of the project. I used fine liner, watercolour, oil bars and Biro.

 
   I thought that it would be a good idea to use smooth mark making as my motifs on screen were quite solid and graphical. This meant that my digital prints had a different feel to them, yet were still clearly part of the same collection.
   Once I had chosen the motifs to take forward into photoshop, I scanned them in, making sure it was on a high resolution to get all the detail. As a class, we had a digital work shop with our tutor, where we were taught how to make our motifs into brushes in photoshop. It was quite a easy process, so I picked it up quite quickly and finished all my brushes. We also had to put our colour palette onto the swatch palette on photoshop. We did this by eye, saved it and started to play with designs.
 
Creating my colour palette
 

(Intial colour palettes)
 
 
(Final colour palette)
 
 
I really liked my researched image therefore I decided to take my colours from that. Once my palette was developed I created my swatches on photoshop and started to create print designs. 

Thursday, 24 January 2013

Creating motifs to put onto screen

I didn't want to just copy existing material, therefore, I decided to take my own images to respond to (with a little help from my sister...again!!) My younger sister is a very talented dancer, so I thought it would be a good idea to take shots of her dancing! My idea was to focus on one part of her body; for example her hand. Looking at her hand I would then draw the shapes created from the movements. Once getting into it, I then used different parts of her body, even the general  movement of her whole body. It definitely wasn't as precise as the Bourett steps,and you couldn't tell what steps were made, however it got the mood and theme across well. I used different medias to draw with:pen, pencil and felt-tip pen. I found this helpful as I could experiment with the tone, texture and thickness of the motifs. 
 
 
Even though my designs are so different from my research, I have still taken some aspects of the original shapes. I really enjoyed producing these motifs; I found it interesting developing the shapes and seeing what they could look like as a print. My next task was to develop motifs to put on acetate so it could be exposed onto a screen for printing. I realised that I should create some more hand motifs that were different and a couple of digital motifs. This would mean that I had a variety of shapes to play with in the print room.
 
Motifs for screen printing


As well as having the motifs as a whole, I have also included them as separate shapes. This means that if I wanted to use a certain part of it to print, I could. I will be able to produce more of a range of prints and I won't get bored of only having a few motifs to use.